










 Teenager
 Student
 Career (searching)
 Party!
 On the plane
 Travel friendly
 Day trip
 Postcards
 Beauty gifts
 <3 Gift Card
 7-Skin Method
 1 Day 1 Mask
 Best of K-beauty
 Face Gym
 Glass skin
 Haru Haru Exclusives
 Fashion & Lifestyle

 1. Cleansing
 2. Toner
 3. Eye cream
 4. Treatment / Boost
 5. Moisturizer
 6. Sun protection
 6. Night treatments
 Skin type - Normal
 Skin type - Dry
 Skin type - Oily
 Skin type - Combi
 Skin type - Sensitive
 Skin concern - Dehydrated
 Skin concern - Pigmentation
 Skin concern - Acne
 Skin concern - Wrinkles
 How much should I use?
 Applications and handlings
 Sequence and waiting times
 Mask guideline
 Recycle & upcycle
 Natural vs. synthetic
 Clean vs. dirty beauty
 Mineral vs. chemical UV filter
 Open and closed pores
 Oils are bad for oily skin types
 No makeup, no double cleansing
 No sun, no sunscreen
 Scary acids
 Oily skin, no moisturizer
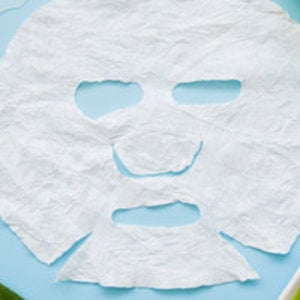 Sheet Masking Tips
 7 Skin Method
 Pigmentations & dullness
 Wrinkles & lines
 Acne & pimples
 Enlarged pores
 Oil control
 ⤷ Sebum production
 Ingredients
 Glossary
 FAQ: kbeauty
 Workshops
 Skintype quiz
 Routine quiz
 Acne quiz















-
All products are added to your cart.
Applications and handlings
Perhaps you have built up a fairly good routine now, but you nevertheless notice little to no improvements despite maintaining your daily routine and using the right products. But did you know that other factors can also play an important role in the effectiveness of a routine, such as product storage and the application method?
Do you use a towel to dry your face after cleansing or do you rather use your hands? Do you always wait a while or do you continue directly with the next step? If you often ask yourself such questions, we suggest you take a look at the list below.
Getting it off
1. Avoid clogged pores: clean your face in the evening before you turn on the shower!
The heat in your bathroom forms a sauna-like effect that will melt the layer of oils together with pollutants, drawing them deep into the pores.
Tip: If you still prefer to cleanse while in the shower, make sure that you have already used your makeup remover or oil-based cleanser before the bathroom has warmed up. Apply the oil-based cleanser on a dry face with dry hands, enjoy a facial massage, and then emulsify and rinse off. Remember: water and oil do not mix!
2. Avoid wrinkle formation and irritation: avoid friction on the face!
Foaming up your water-based cleanser in your hands beforehand prevents unnecessary friction on your face, which can otherwise irritate the skin and accelerate wrinkle formation.
If you use a cleansing tool such as a cleansing pad, brush, or cloth, make sure it is soft enough for your skin and do not apply excessive pressure. Clean and replace these tools regularly!
3. Skip the makeup wipes!
Makeup wipes can seem like an easy option after a long day to refresh and clean your face, but they should never be your sole daily cleanser.
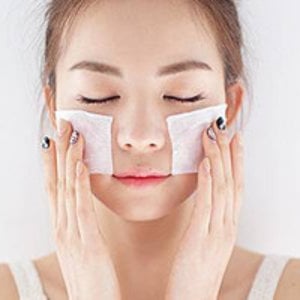
Better alternative: Skip wipes entirely and use a proper oil-based cleanser. If you do use a wipe, press it gently onto heavy makeup areas like eyes and lips to loosen everything before gently sweeping from the inside out—never rub harshly.
4. Skip the towel for drying!
Bathroom towels quickly become damp, creating an ideal breeding ground for bacteria and fungi that you definitely do not want on a freshly cleansed face. Using a soft tissue or—even better and more sustainable—your clean hands to remove excess water is much safer and prevents spreading microbes.
If you still prefer a towel, make sure to change it daily (or after every use if you have acne) and gently pat dry without rubbing.
Putting it on
1a. Light, watery toner (refreshing, cleansing)
Very liquid toners (such as exfoliating or low-pH toners) are best applied with a cotton pad. Saturate a few pads and sweep gently from the inside out to help remove softened dead skin cells directly after cleansing on damp skin.
Exception: If you struggle with clogged pores, blackheads, or oily skin, you can try applying active acid toners (like AHA/BHA) on a dry face so the acids can work more effectively.
1b. Essence toner (hydrating)
Thicker, gel-like essence toners are best poured directly into your palms and patted straight onto the face to maximize absorption and nourishment. Feel free to apply a few extra layers for deeper hydration, provided the formula is alcohol-free (denat.).
Pro-tip: Always apply toners within 30 seconds of cleansing on damp skin to lock in moisture. Waiting until your skin air-dries renders the product less effective, and if it contains hyaluronic acid, it can actually draw moisture out of the skin.
2. Light textures & Facial oil
Essence, serum, ampoule, emulsion: Take a small amount (1-2 drops or pumps) onto your palms and use your fingertips to pat gently until absorbed. Avoid letting the dropper pipette touch your skin directly to prevent contamination and oxidation. To keep air out of the bottle, squeeze the bulb before inserting it back in.
Facial oil: Warm a few drops between your hands and massage into the skin. Application options:
- Before moisturizer: Penetrates deeper, but wait 5-10 minutes before the next step.
- After moisturizer: Seals everything in immediately with no wait time.
- Mixed: Blend a few drops directly into your serum or moisturizer.
3. Eye cream
Dot and tap gently using your ring finger (which applies the least pressure) around the eyes:
- Under: Along the eye socket bone.
- Side: Crow's feet area.
- Upper: Just beneath the brow bone.
Always proceed tenderly without rubbing. You can also apply eye cream to other expression lines, such as the forehead, laugh lines, and neck.
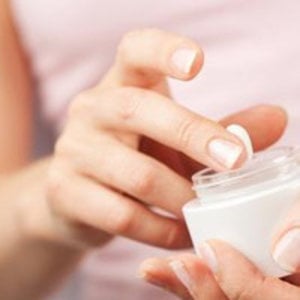
4. Cream-like textures: lotion and cream
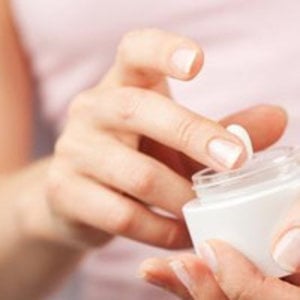
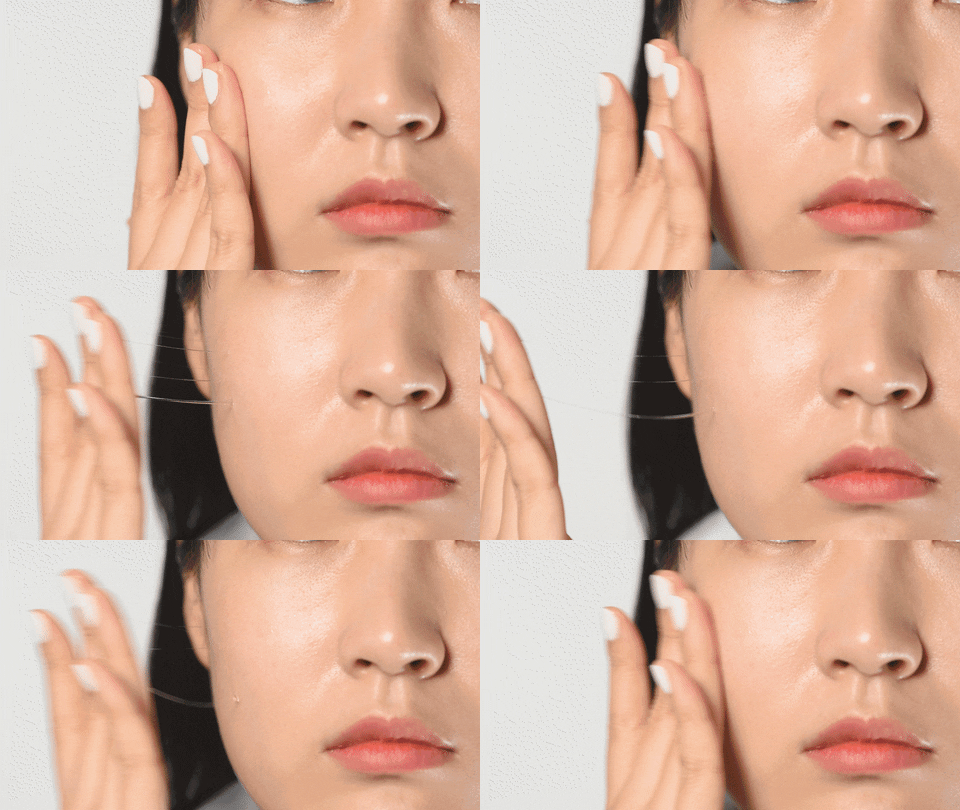
Dot these solid textures across your face (cheeks, forehead, nose) and gently pat or press them in for full absorption.
5. Sunscreen
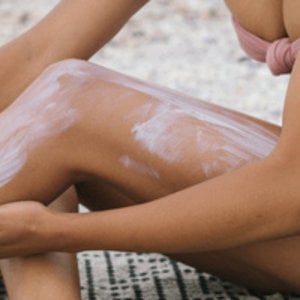
Apply in the morning as the final step of your skincare routine, prior to makeup. Spread evenly over your face and neck. Applying two thin layers is recommended over one thick layer for a more even finish. Don't forget sensitive spots like behind your ears and the back of your neck.
To prevent pilling: Lightly dab the product instead of rubbing harshly, wait a moment between skincare steps, or apply zone by zone. Allow 5 to 10 minutes for your sunscreen to dry down and form a protective film before heading outdoors.
Reapplication: Because UV protection diminishes throughout the day due to sweat and friction, reapplication every 2 hours is advised. If you wear makeup, use lightweight options like an SPF spray, mineral powder SPF, high-SPF BB cream, or press liquid sunscreen on with a makeup cushion/sponge.